Before we can shift any security checks left, we need a project, a repository, and a pipeline that actually builds something. In Part 2 of our GitLab DevSecOps series, Patrick Steger and I log into GitLab, create a new .NET Core project from a template, and look at the .gitlab-ci.yml file that GitLab generates for us — including the build and test jobs that will become the foundation for everything we add later.
Logging In and Finding Your Way Around#
After you log in to GitLab, the first thing you see is your project list — every repository you own or collaborate on, with filters and search to keep things manageable. The left navigation gives you projects, groups, milestones, snippets, activity, environments, operations, and security. We will come back to most of these in later sessions. For this introduction, we head straight to “New project.”
Creating a Project From a Template#
GitLab gives you several ways to start a project: a blank repository, a template, an import from another platform, or a CI/CD setup that runs against an external repo. We pick the template option because it gives us code, structure, and a starting pipeline in one click.
The template list covers the usual languages. We pick .NET Core, name the project myDotNetCore, choose the project URL, and set visibility to private. Public would also work — for a demo it does not matter — but private is the realistic default for anything you would build at work.
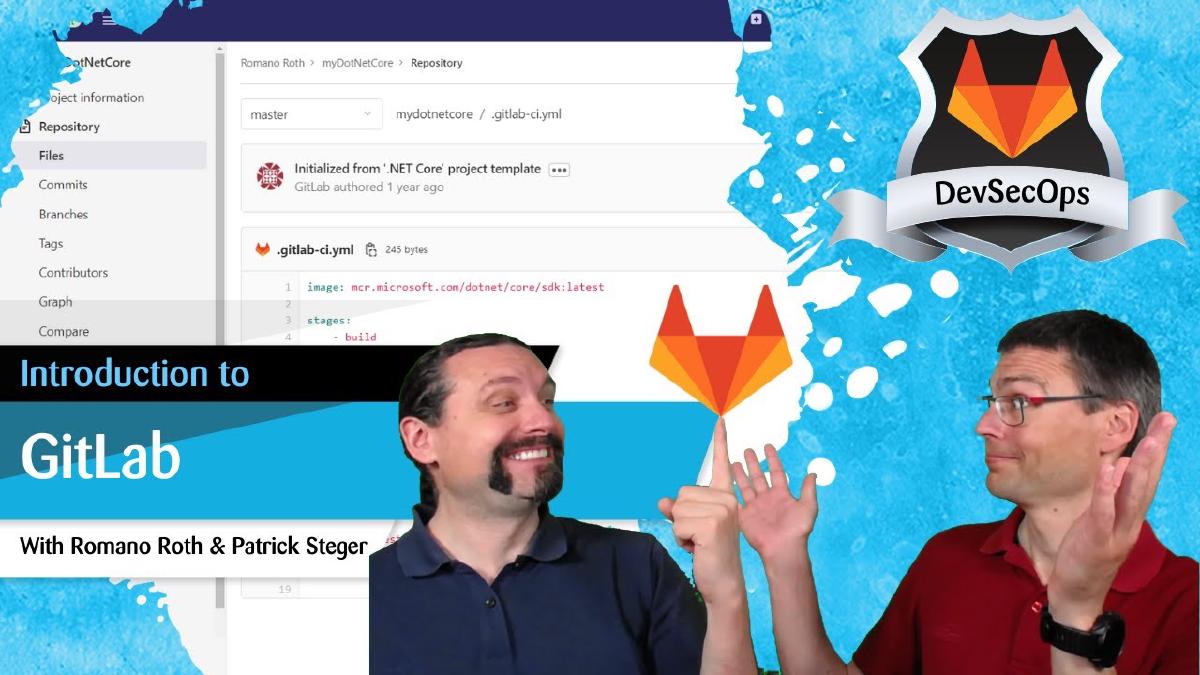
A few seconds later GitLab has generated the project. You land in the repository view with a README, the .NET hello-world Program.cs, the .csproj, and — the file that matters most for us — .gitlab-ci.yml.
What’s Inside .gitlab-ci.yml#
The auto-generated .gitlab-ci.yml defines the whole CI pipeline for this project. Two stages, build and test, each with one job of the same name. Both jobs already contain everything needed to compile and test a .NET project. This is the spine we will hang every security check on later in the series — SAST, secret detection, SCA, container scanning. The fact that GitLab gives you a working pipeline on day one is a real productivity boost.
Running the Pipeline#
To see the file in action, we go to CI/CD → Pipelines. There is also an inline editor here if you want to edit .gitlab-ci.yml from the UI. Right now there are no pipelines, so we click Run pipeline. The build job kicks off first, finishes successfully, and the test job follows. Click into a running job and you get a live log — useful for debugging, useful for understanding what is actually happening on the runner.
When both jobs go green, the pipeline is done.
What Just Happened: Runners and Docker Images#
Going back to .gitlab-ci.yml, the online version of GitLab provides shared runners that execute your CI/CD jobs. These runners use Docker images, and the image is declared in the YAML file. By default, each job runs in its own fresh Docker image. That is a clean isolation model, but it also means the build job and the test job each spin up an environment, fetch the source, and do part of the same work.
Drilling into the build job log, you see the GitLab Runner starting up, the Docker executor preparing the machine, the image being pulled, the environment being prepared, the sources being cloned from Git, and finally the dotnet build command executing. Artifacts get uploaded at the end. The test job repeats most of those steps and then runs dotnet test. Because there are no tests in the hello-world project, it succeeds without doing much.
Two Things Worth Calling Out#
There are two details from this run that you want to internalise before you grow the pipeline.
First, pin your image versions. The default template uses the latest tag for the Docker image. That is convenient until the image moves under you and your build breaks for a reason that has nothing to do with your code. Always pin a specific version so you control your build environment.
Second, reuse artifacts between jobs. Right now the build job compiles, the test job effectively compiles again before testing. That doubles the work for no reason. As your pipeline grows, pass the build output as an artifact into the test job so the test stage just runs the tests. It is one of the easiest optimisations to make.
Key Takeaways#
Start from a template, not a blank repo. GitLab generates the source files, a working
.gitlab-ci.yml, and a runnable pipeline in one click. You spend your time on what makes your project unique, not on boilerplate..gitlab-ci.ymlis the heart of GitLab CI. Stages, jobs, scripts, and images are all declared here. Once you understand the shape of this file, the rest of GitLab CI follows.Pipelines run on runners, runners use Docker images. The runner is the executor; the image is the environment. GitLab’s shared runners cover most early needs, but knowing how it works matters when you self-host later.
Pin your Docker image versions. Using
latestmakes builds non-deterministic. A pinned version gives you a reproducible build environment that only changes when you decide it changes.Reuse build artifacts in downstream jobs. Each job runs in its own container. Without artifact passing, you compile twice — once in build, once again in test. Pass the artifact and the pipeline gets noticeably faster.
The two-stage build/test pipeline is the foundation, not the goal. Everything we add over the next sessions — SAST, secret detection, SCA, container scanning, DAST — plugs into this same structure. Get comfortable with it now and the rest of the series will feel like extension, not reinvention.